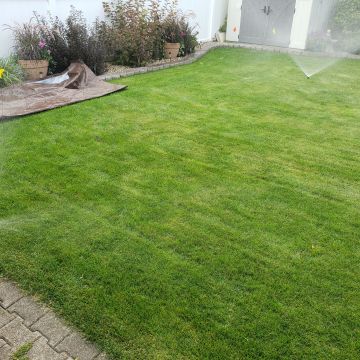
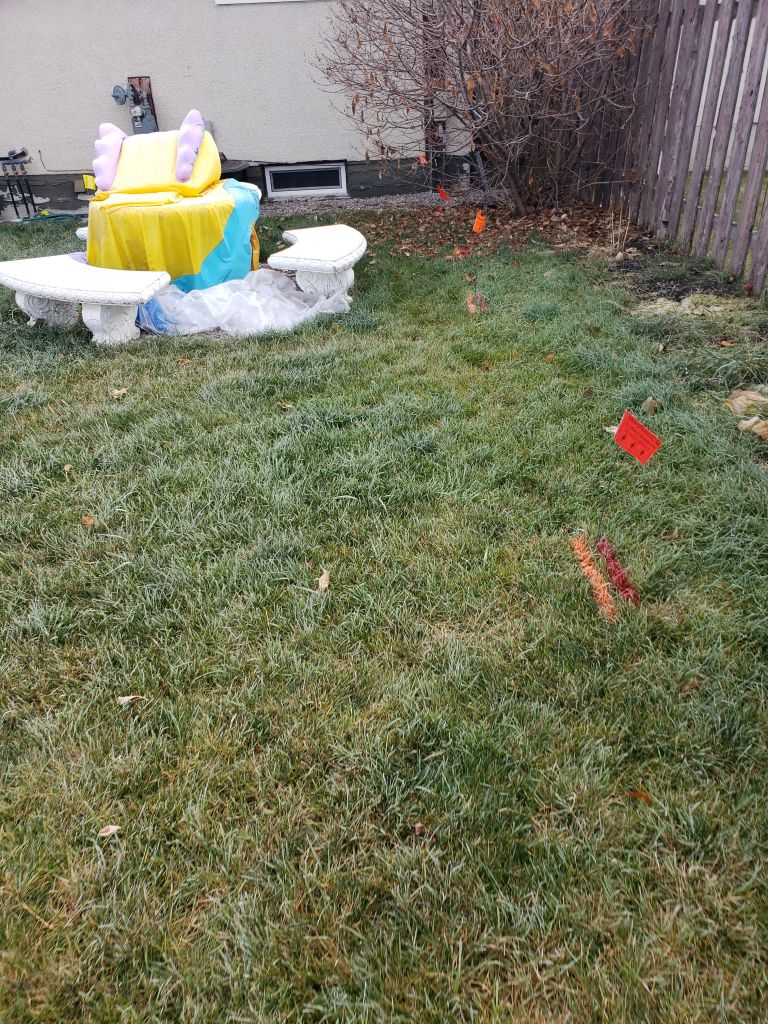
Example 1 Before
Images before staring Line drops/ line layering for reference to insure we can leave the yard looking the way it was before we arrived.
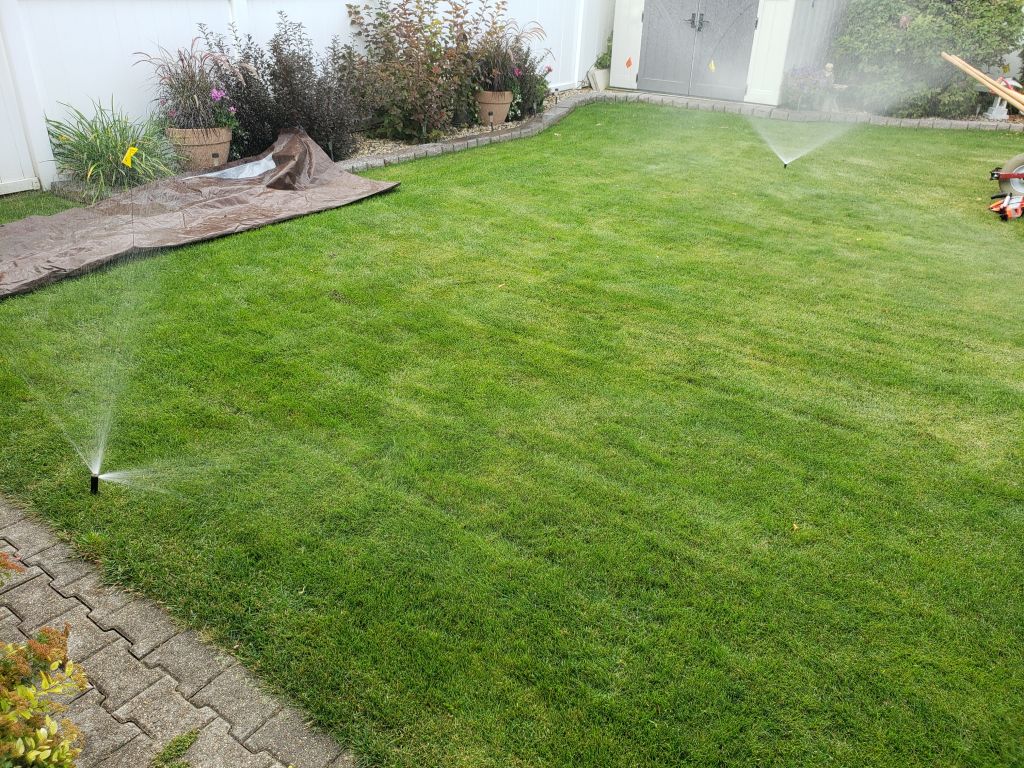
Example 1 Before
Images before staring Line drops/ line layering for reference to insure we can leave the yard looking the way it was before we arrived.
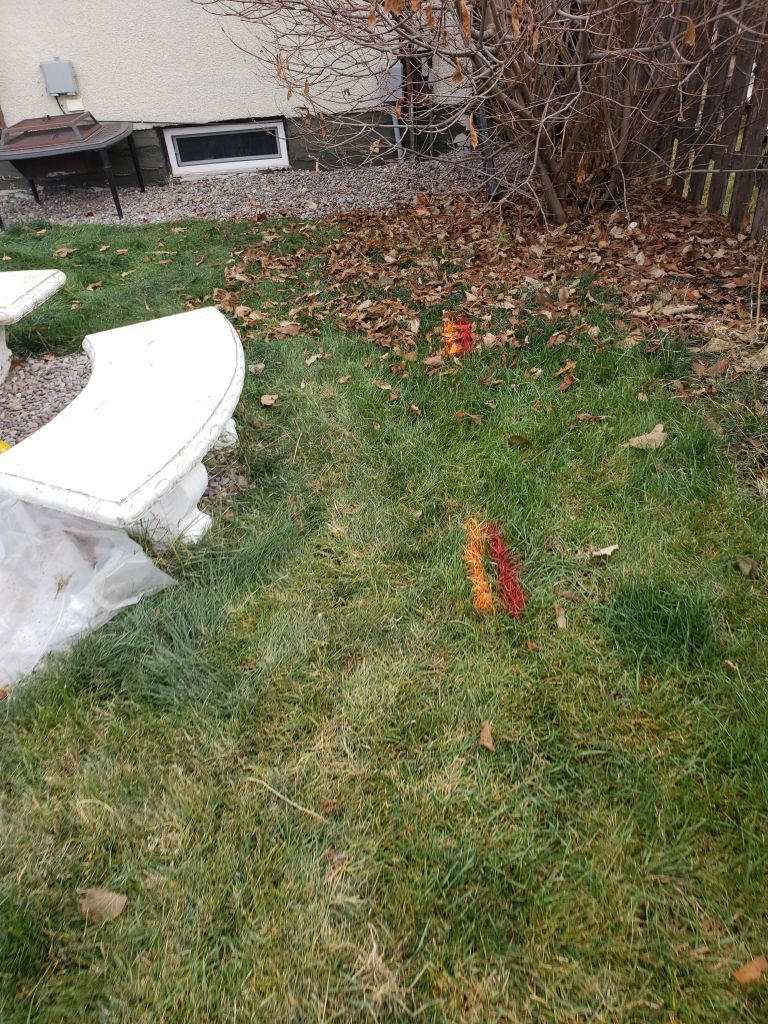
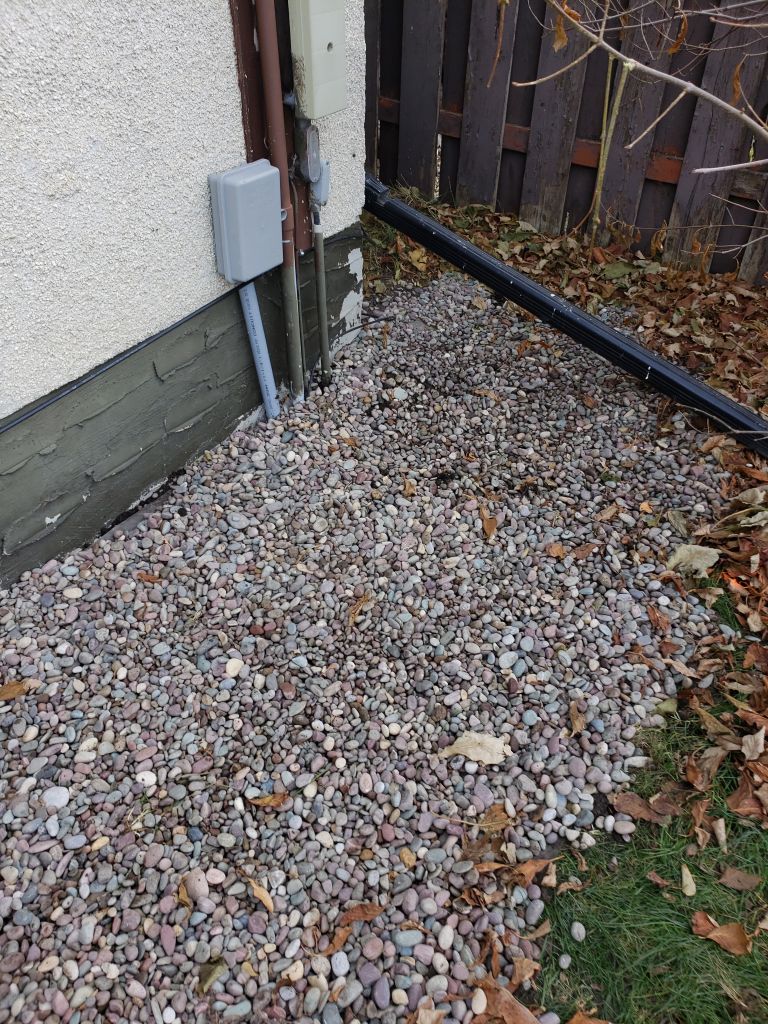
Example 1 After
Images after completion you can see we try to leave the yard in the best condition possible. In this image you can see the brick how and lawn after it was trenched.
Example 1 After
Images after completion you can see we try to leave the yard in the best condition possible. In this image you can see the lawn where the machine had gone through.
Example 1
Our crews testing the sprinklers beforehand to locate all heads and ensure everything is working, After we test again to locate all heads and ensure there is no damage to heads or lines and repair if needed.
Example 2 Before
Images before staring Line drops/ line layering for reference to insure we can leave the yard looking the way it was before we arrived.

Example 2 Before
Images before staring Line drops/ line layering for reference to insure we can leave the yard looking the way it was before we arrived.

Example 2 After
Images after completion you can see we try to leave the yard in the best condition possible. In this image we put the pipe on the left side of existing lines.

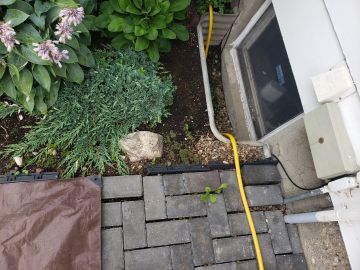
Example 2 After
Images after completion you can see we try to leave the yard in the best condition possible.
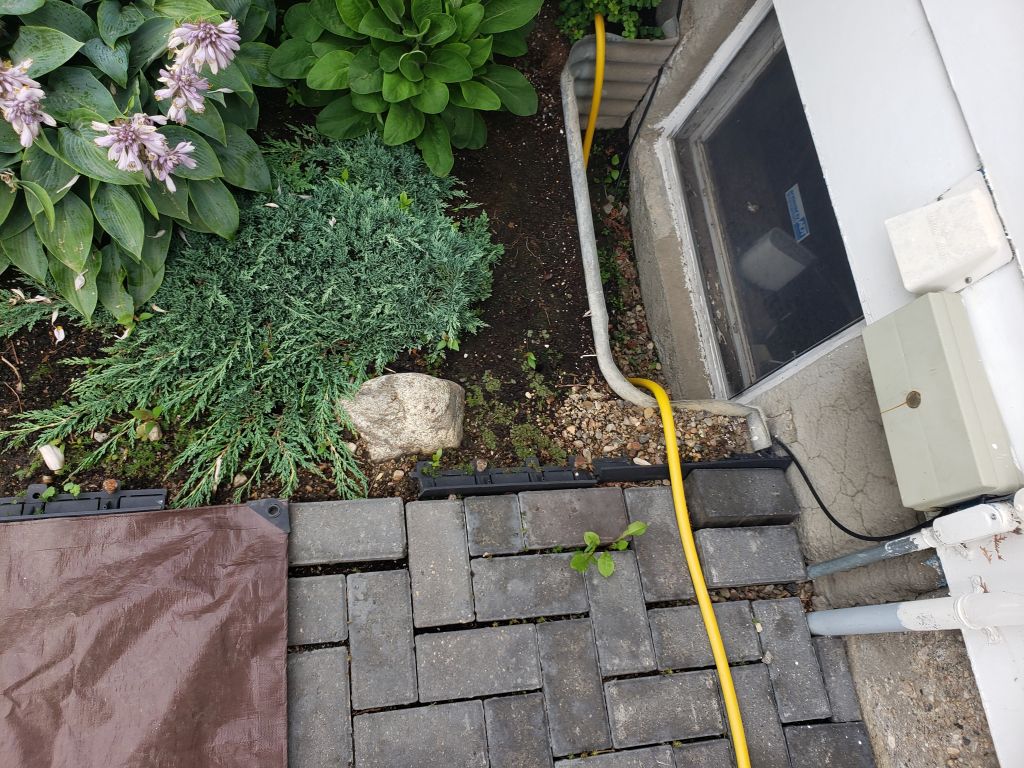
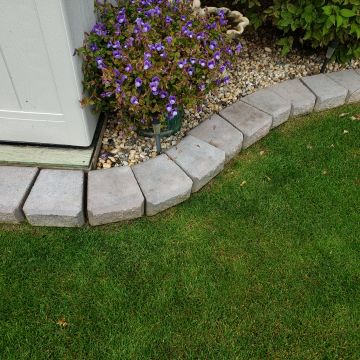
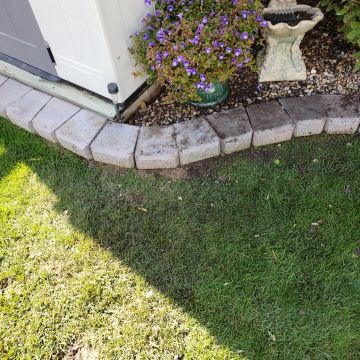
Example 3 Before
Images before staring Line drops/ line layering for reference to insure we can leave the yard looking the way it was before we arrived.

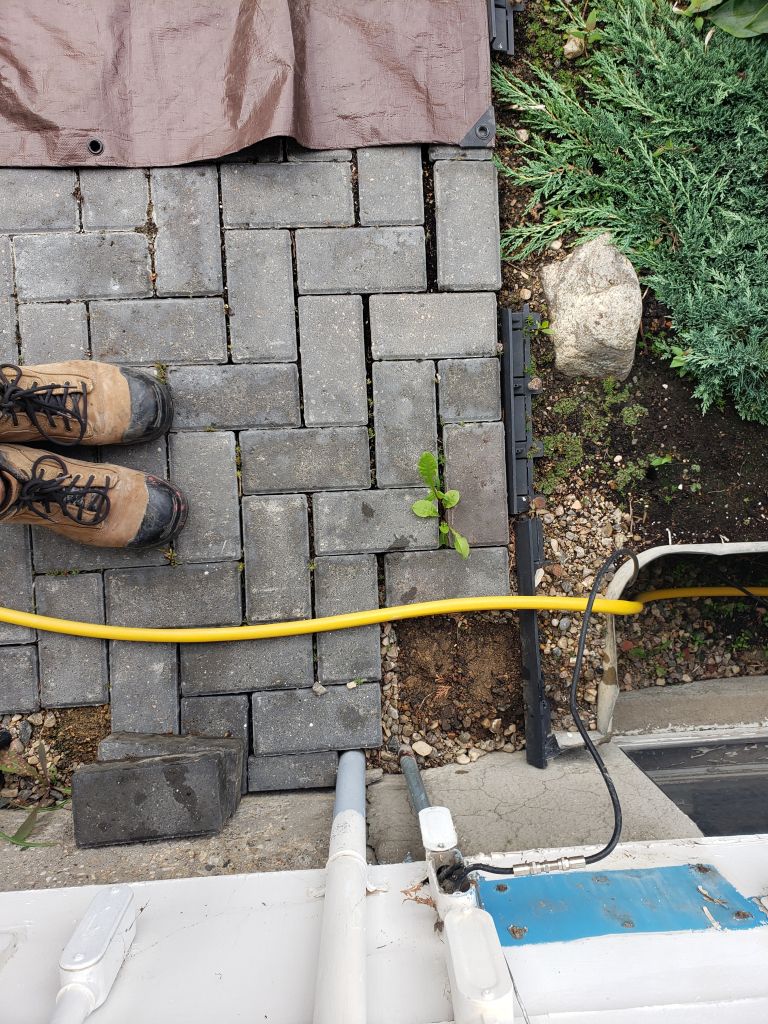
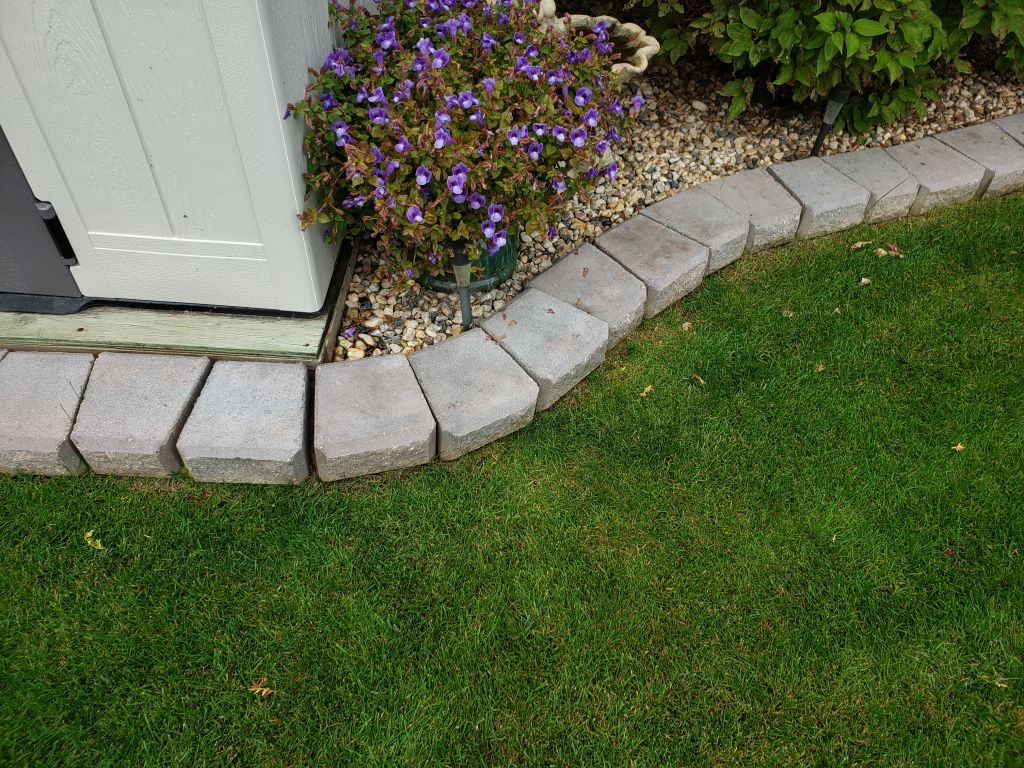
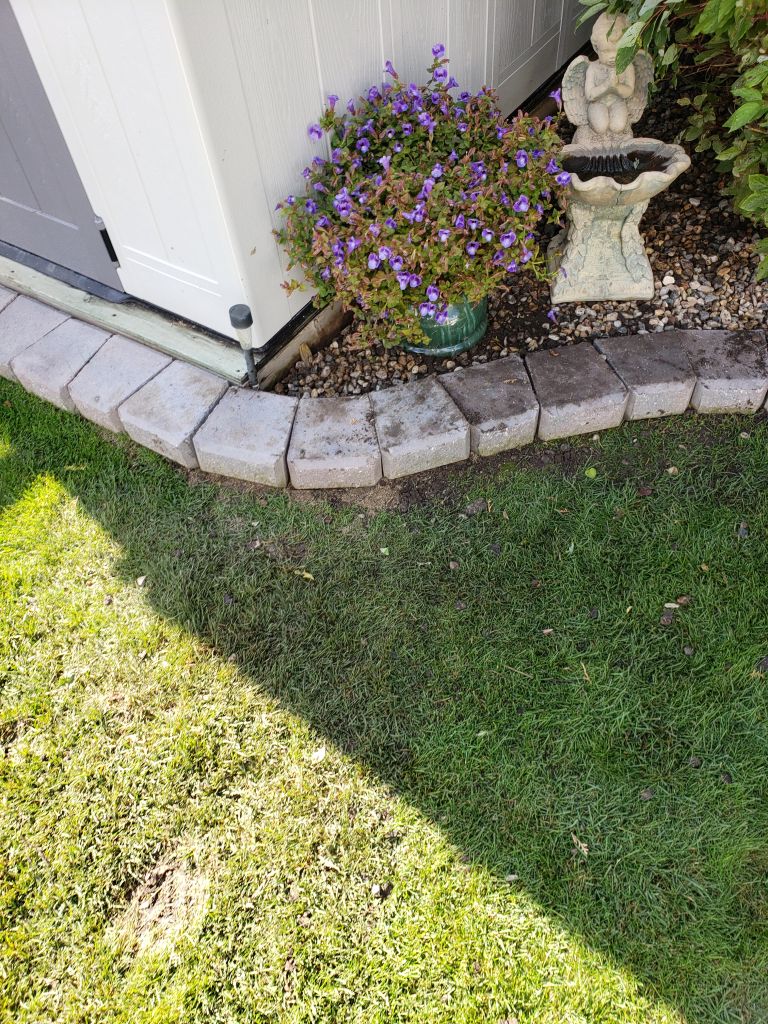
Example 3 Before
Images before staring Line drops/ line layering for reference to insure we can leave the yard looking the way it was before we arrived.

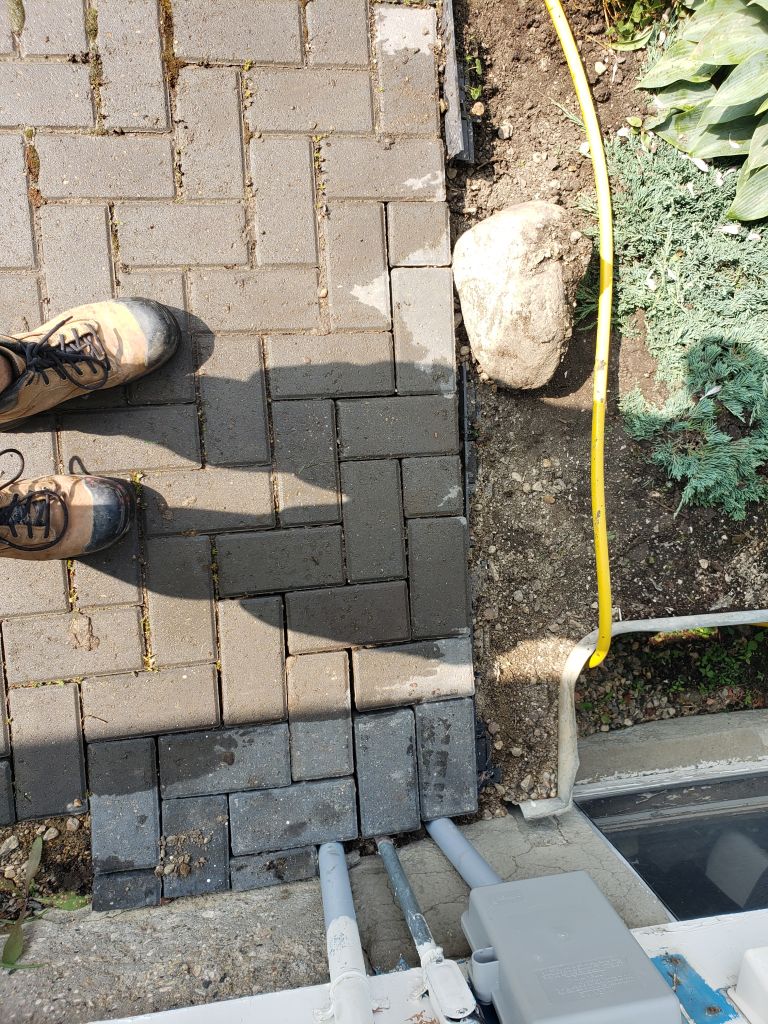
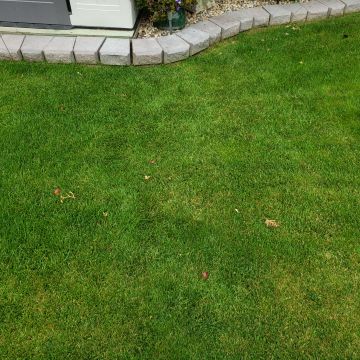
Example 3 After
Images after completion you can see we try to leave the yard in the best condition possible. This image is after repairing the brick work and flowerbed after we finished, if you compare Example 3 before you will see bricks a placed tighter after we have finished.
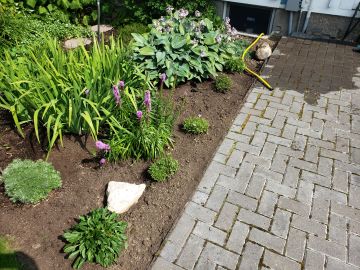
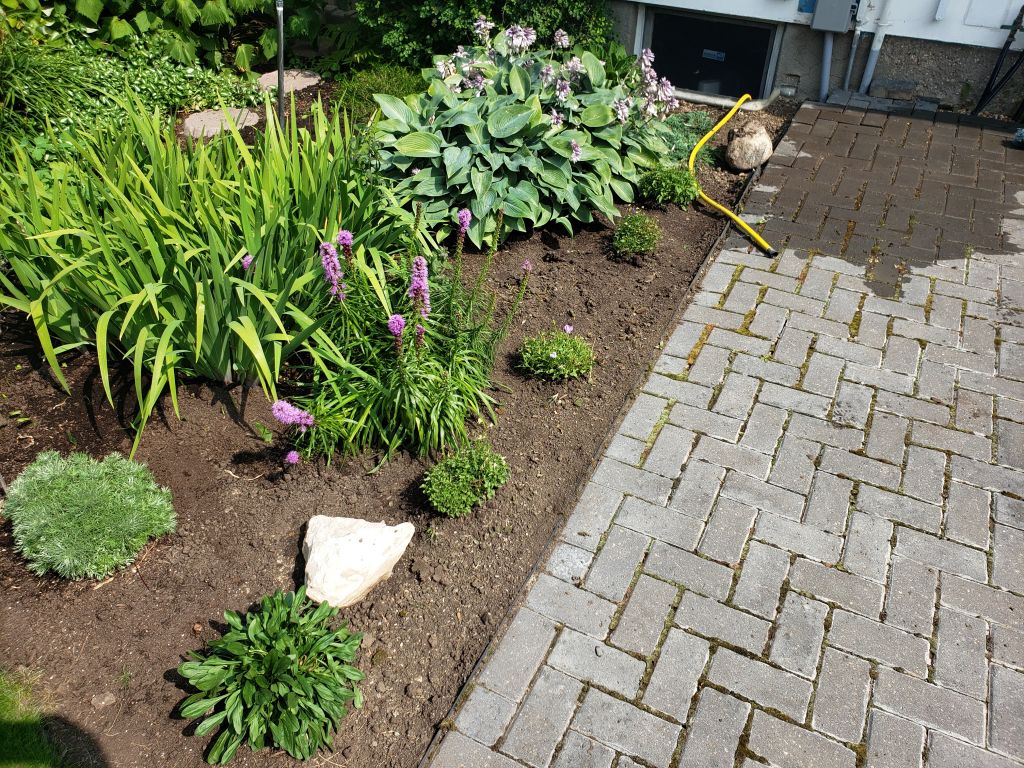
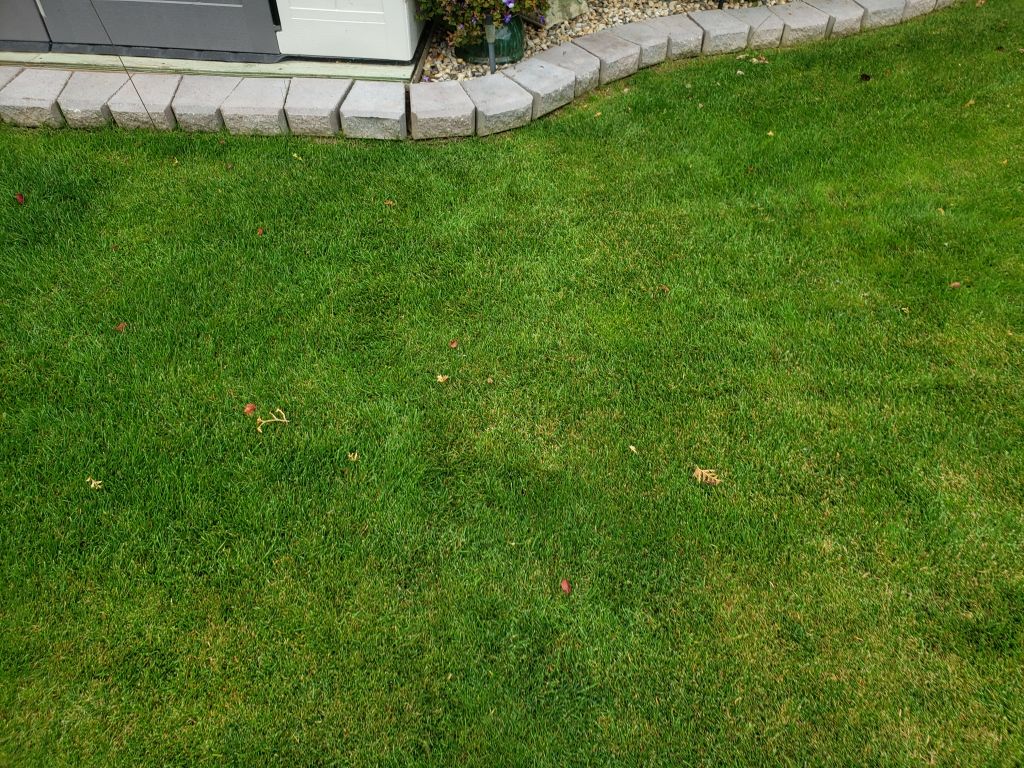
Example 3 After
Images after completion you can see we try to leave the yard in the best condition possible. This image is after repairing the brick work and garden after we finished. In this case we had to come through the flower bed and we had to remove everything in our path, everything was successfully replanted as we remove with roots/bulbs fully intact.
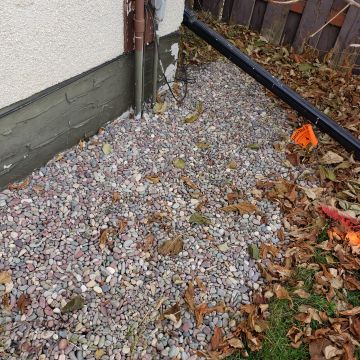
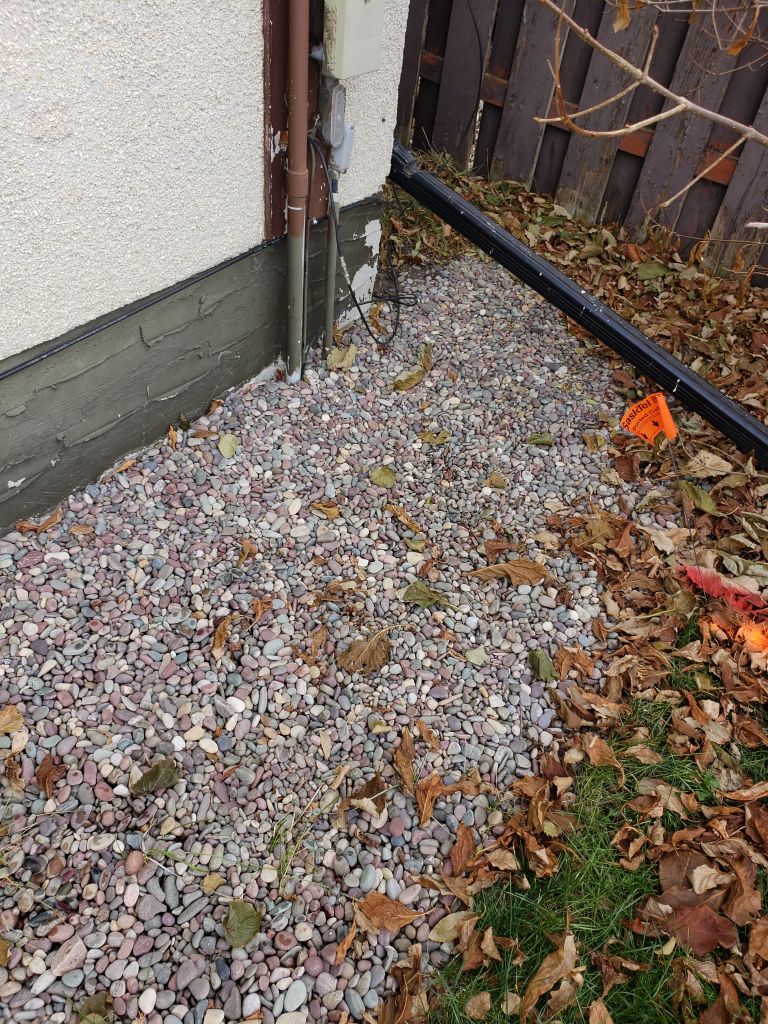
Example 4 Before
Images before staring Line drops/ line layering for reference to insure we can leave the yard looking the way it was before we arrived.

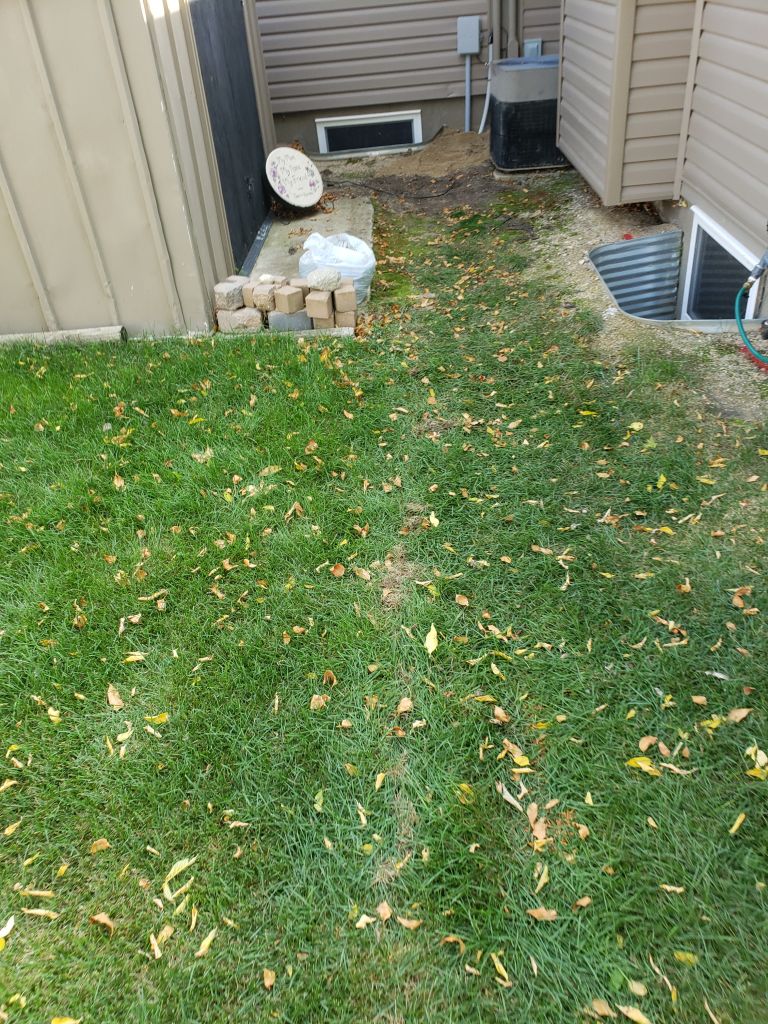
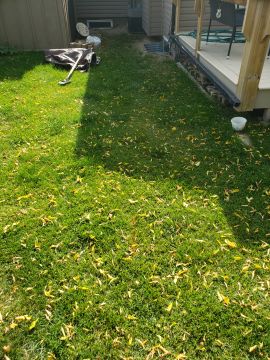
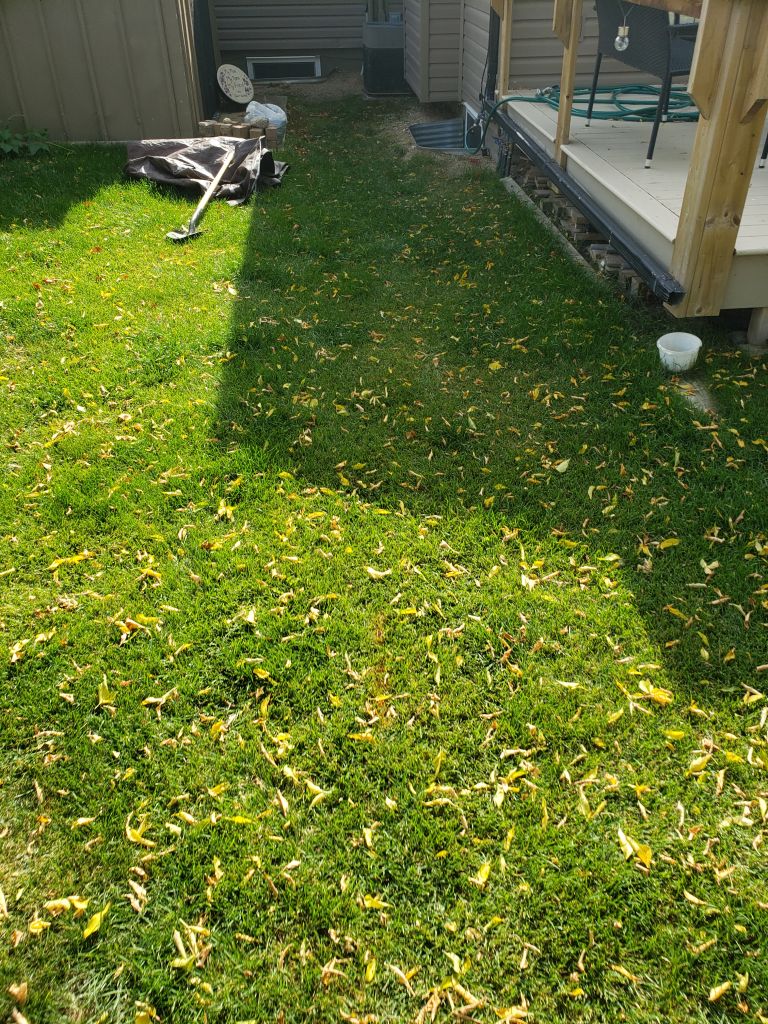
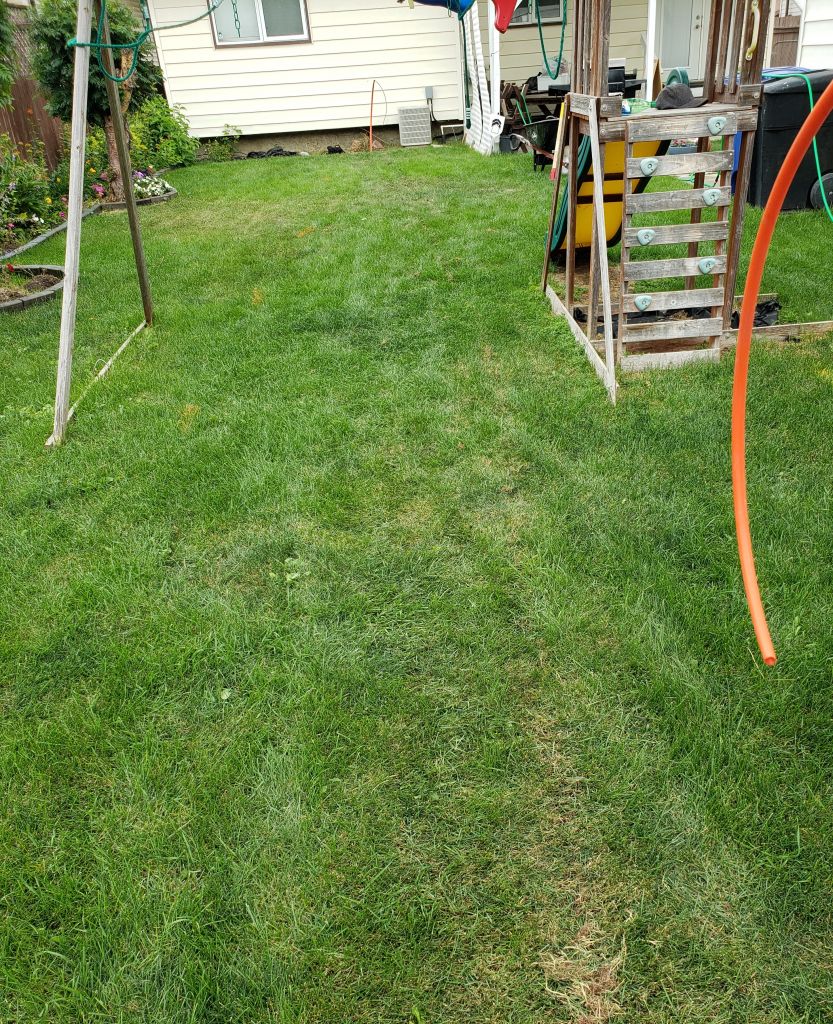
Example 4 After
Images after completion you can see we try to leave the yard in the best condition possible. Where are machine went through was directly in the middle of the picture.

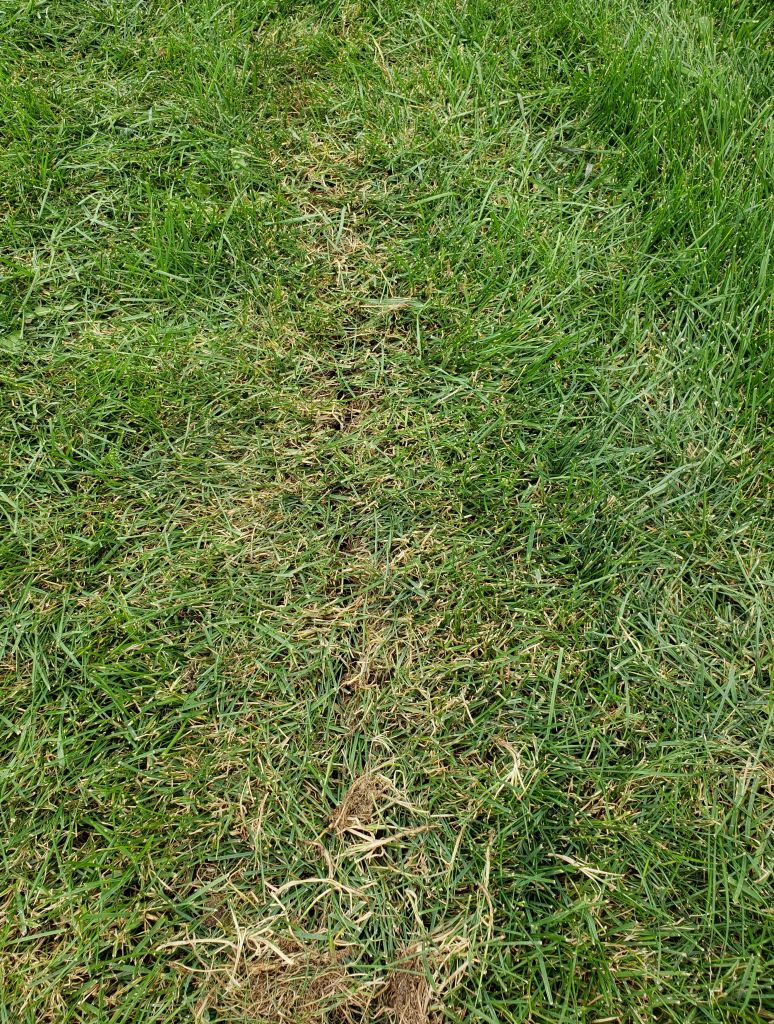
Example 5 during
Images during you can see we try to leave the yard in the best condition possible. Where are machine went through was directly in the middle of the picture. This is a close up before we tamp the ground around the trench to help close any gap or raised seams.
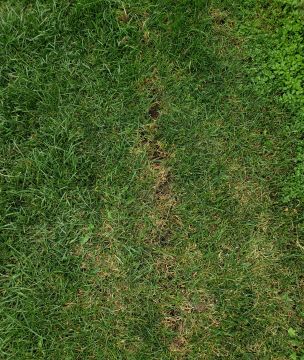
Example 5 during
Images during you can see we try to leave the yard in the best condition possible. Where are machine went through was directly in the middle of the picture. This is a close up before we tamp the ground around the trench to help close any gap or raised seams.
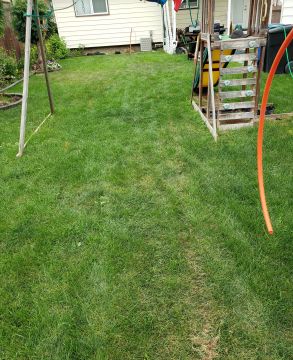
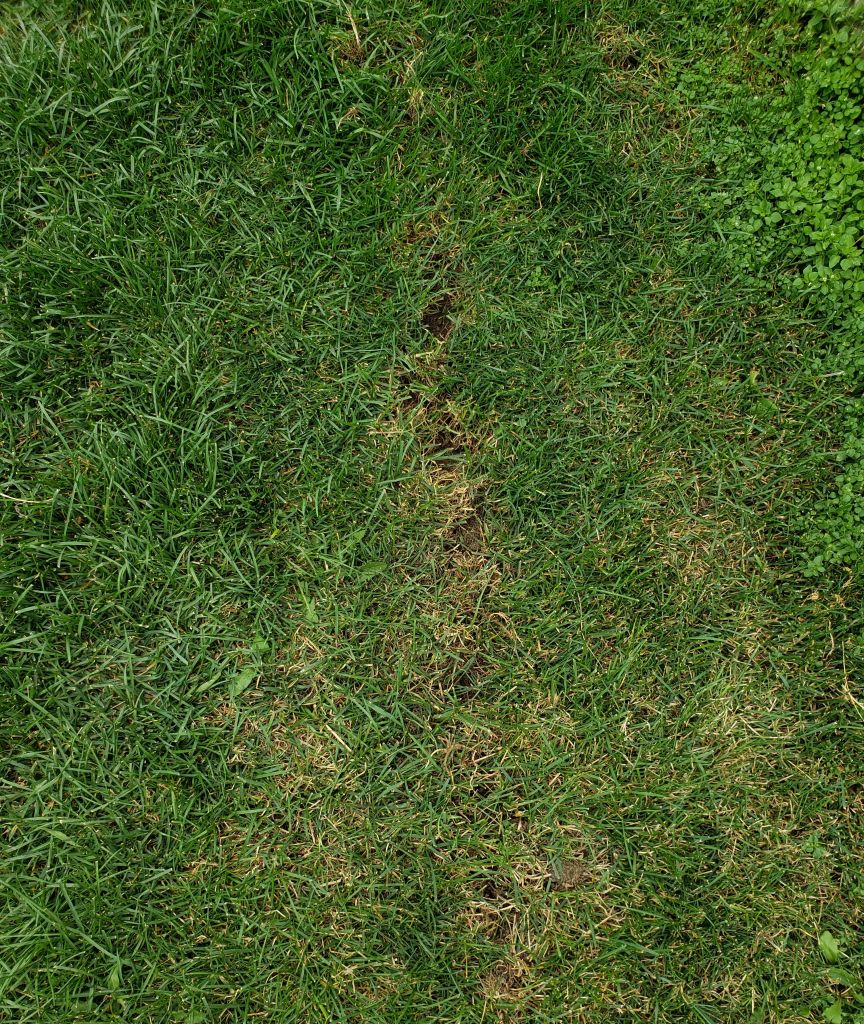
Example 5 During
Images during you can see we try to leave the yard in the best condition possible. Where are machine went through was directly in the middle of the picture through the play structure. This is before we tamp the ground around the trench to help close any gap or raised seams as well as put connect piping to the house or inside the boxes.